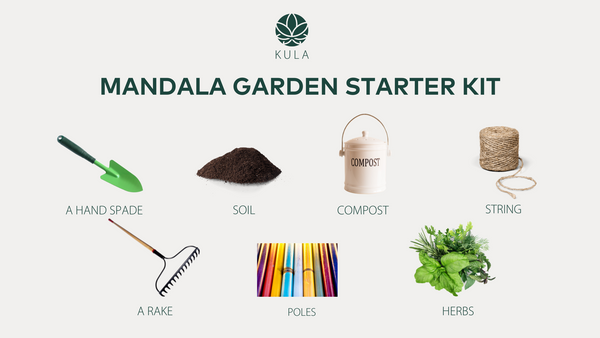
Everything you need to know about creating Mandala Gardens

Mandala is a Sanskrit word meaning ‘circle’. Although it may include shapes like squares and triangles, a mandala always has a circular nature. Mandala not only describes a shape; it also represents unity and harmony.
At our 6th Kula Africa Academy Workshop, our students with the help of Tersia, from Food and Trees For Africa, worked on designing and creating a mandala herb garden at Kula Farm in Midrand.
Besides planting herbs in a beautiful design, the purpose of building a mandala garden is to create a sanctuary for you to enjoy. This is why we always put four walkways in between so that you never walk over the circle. In the centre of the Mandala, you can add a centrepiece such as a sundial or any other feature you prefer.
The idea is that when you walk in the walkway, you touch, smell and experience your garden. It’s a space that helps you focus and creates a flow of energy in your garden.
A tip when creating a mandala garden is that it must look the same on opposite sides. This is so that your design is balanced, even though the plants can come in different heights and sizes.
Here is a step-by-step guide on how to create a basic Mandala Garden:
Step 1
Loosen the soil in the space you are going to use for your Mandala Garden. We recommend a 6m x 6m parameter.
Step 2
Start from the centre by drawing a circle with a diameter of about 60cm and work your way out by adding four pathways that lead to the edge/circumference of the circle. Add the extra soil from the pathways to the beds. We don’t want a wheelbarrow walkway, you just want a walkway for you to enjoy your space.

Step 3
Stick your pole into the centre of your smaller circle in the middle of your mandala garden and attach it to a rope that is 3m long (half of the radius of your 6m x 6m parameter). Then walk in a circle and use the rope to guide you as you draw the outline of your garden’s circle.

Step 4
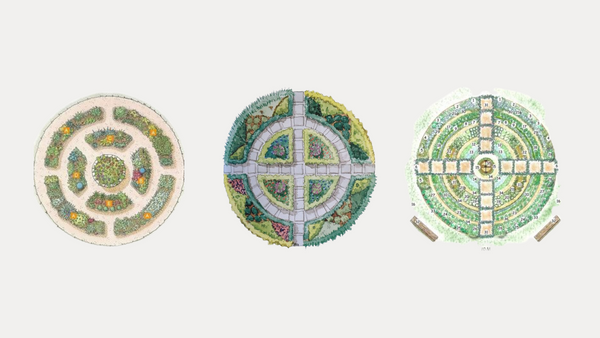
As soon as you have your circle in the middle and your walkways, you can grab some paper and pencils to design the area in between into whatever design you want. You can do one big wedge or two smaller wedges with an extra walkway here. So, this is a bed or you can play with circles. A big circle there, another one overflowing here and another one overflowing here. You create whatever design you want, this is where your vision for your mandala comes in.
Step 5
Transfer your design to your soil. You can use a small amount of maize to draw the design you’ve decided to go with.
Step 6
Arrange the herbs on your design pattern, try to think about which herbs complement each other and the room the plant will need once it’s fully grown.
Step 7
Dig the holes for the herbs using your hand spade and place the herbs in the hole, gather and pinch soil around it to tighten the soil so that it is sitting steadily in the ground.
Step 8
As soon as your herbs are planted, water around the basin of the plant and enjoy your mandala garden.